Streaming live TV channels and on-demand content has become incredibly popular, and IPTV (Internet Protocol Television) is at the forefront of this revolution. If you’re wondering how to install IPTV on a MacBook, this article thoroughly explains each method to get you started. We’ll delve into various techniques, compare tools, and ensure every step is crystal clear. Let’s explore the best ways to enjoy your favourite shows and channels on your MacBook effortlessly.
How to Install IPTV on MacBook
Before diving into the methods, let’s address an essential question: what is IPTV? Unlike traditional cable or satellite TV, IPTV delivers live channels and content over the Internet. This technology enables flexibility, high-quality streaming, and access to global entertainment. Since MacBooks are reliable and user-friendly, they make an excellent choice for IPTV. But how do you install it on your MacBook? Let’s find out.
Pre-Installation Requirements
To successfully set up IPTV on your MacBook, you’ll need a few things:
- A stable internet connection
- An IPTV service subscription
- An IPTV player or app compatible with macOS
Once you have these ready, you can begin the installation process.
Method 1: Using VLC Media Player
VLC Media Player is a versatile, open-source application supporting various IPTV formats. If you prefer a straightforward method, VLC might be your best option.
Steps to Set Up IPTV on MacBook with VLC:
- Download VLC from the official website and install it on your MacBook.
- Open VLC Media Player and navigate to the “File” menu.
- Select “Open Network Stream.”
- Enter the M3U playlist link provided by your IPTV service provider.
- Click “Open,” and your IPTV channels will start streaming.
Why Use VLC?
VLC is lightweight, accessible, and compatible with most IPTV formats, making it a top choice for many users.
Method 2: Installing GSE Smart IPTV App
GSE Smart IPTV is a popular app among IPTV users. It is known for its user-friendly interface and advanced features.
How to Install and Configure GSE Smart IPTV:
- Visit the App Store on your MacBook and search for “GSE Smart IPTV.”
- Download and install the application.
- Launch the app and go to the “Remote Playlists” section.
- Add your M3U playlist URL or JSON file provided by your IPTV service.
- Save your settings and start streaming channels.
Pro Tip:
GSE Smart IPTV supports multiple playlists, so you can seamlessly switch between different IPTV providers.
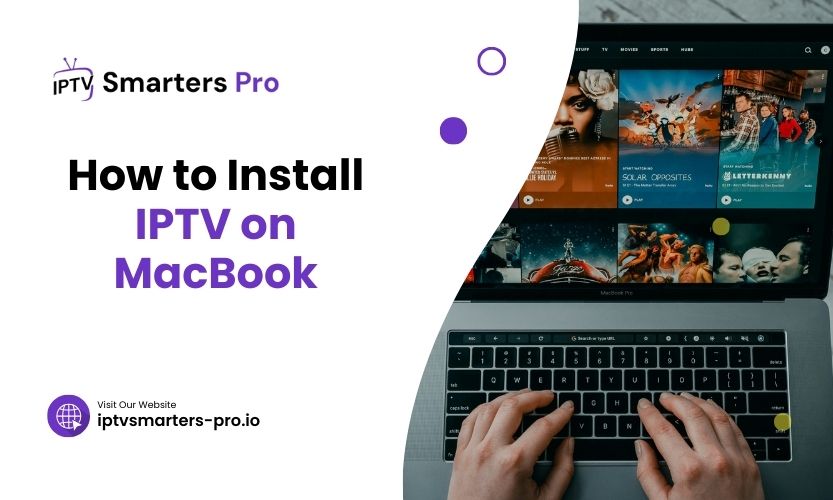
Method 3: Using IPTV Smarters Pro
IPTV Smarters Pro is another excellent option for MacBook users who want a polished experience.
Steps to Use IPTV Smarters Pro:
- Download IPTV Smarters Pro for macOS from its official website.
- Install the software and open it on your MacBook.
- Log in using your IPTV credentials (username, password, and server URL).
- Choose the desired playlist format (M3U or API).
- Wait for the app to load your channels, then start watching.
Table: Comparison of IPTV Players for macOS
| Feature | VLC Media Player | GSE Smart IPTV | IPTV Smarters Pro |
| Cost | Free | Freemium | Freemium |
| Playlist Support | M3U | M3U, JSON | M3U, API |
| User Interface | Basic | Intuitive | Sleek |
| Multi-Device Support | Yes | Yes | Yes |
Method 4: Using Kodi Media Center
Kodi is a robust open-source media platform that supports IPTV through plugins.
Steps to Install IPTV on MacBook via Kodi:
- Download Kodi for macOS from its official website and install it.
- Open Kodi and navigate to the “Add-ons” section.
- Search for “PVR IPTV Simple Client” in the add-ons library.
- Install the PVR IPTV Simple Client and configure it with your M3U playlist link.
- Save your settings and return to the main menu to access IPTV channels.
Kodi is ideal for users who want a customizable IPTV experience with added functionality.
Method 5: Using MyIPTV Player
Another effective solution is MyIPTV Player, designed for ease of use and performance.
How to Set It Up:
- Download MyIPTV Player for macOS from a trusted source.
- Install the app and launch it.
- Import your IPTV playlist (M3U or XML).
- Configure the player settings for optimal playback.
- Access your channels and enjoy high-quality streaming.
Important Tips for Smooth IPTV Streaming
- Always ensure your internet speed is sufficient for live streaming. A minimum of 10 Mbps is recommended.
- Keep your IPTV app updated to avoid compatibility issues.
- Use a VPN if your IPTV provider suggests it for secure and uninterrupted access.
Table: Comparison of IPTV Installation Methods
| Method | Ease of Use | Required Skills | Customizability | Cost |
| VLC Media Player | Easy | Basic | Low | Free |
| GSE Smart IPTV | Moderate | Intermediate | High | Freemium |
| IPTV Smarters Pro | Easy | Basic | Medium | Freemium |
| Kodi Media Center | Advanced | High | High | Free |
| MyIPTV Player | Easy | Basic | Medium | Free |
FAQs About Installing IPTV on MacBook
- What is the best IPTV player for MacBook?
It depends on your needs. VLC is great for simplicity, while GSE Smart IPTV and IPTV Smarters Pro offer advanced features. - Can I use IPTV on MacBook without downloading any software?
Yes, some web-based IPTV players allow streaming directly from a browser, but they may lack the features of dedicated apps. - Why is my IPTV buffering on MacBook?
Buffering is often due to slow internet or server congestion. Check your connection and try using a VPN. - Is IPTV legal to use on MacBook?
IPTV legality depends on the service and content source. Always choose a legitimate provider. - Do I need a VPN to stream IPTV on MacBook?
A VPN can enhance privacy and access region-restricted content, but it’s optional based on your provider’s requirements.
Final Thoughts
Installing IPTV on a MacBook is straightforward when you know the right methods and tools. Whether you choose VLC, GSE Smart IPTV, IPTV Smarters Pro, Kodi, or MyIPTV Player, each method offers unique advantages. Evaluate your needs and follow the steps carefully for uninterrupted streaming. With the right app and a reliable IPTV service, you can transform your MacBook into a powerful entertainment hub.